Rubik's Cube
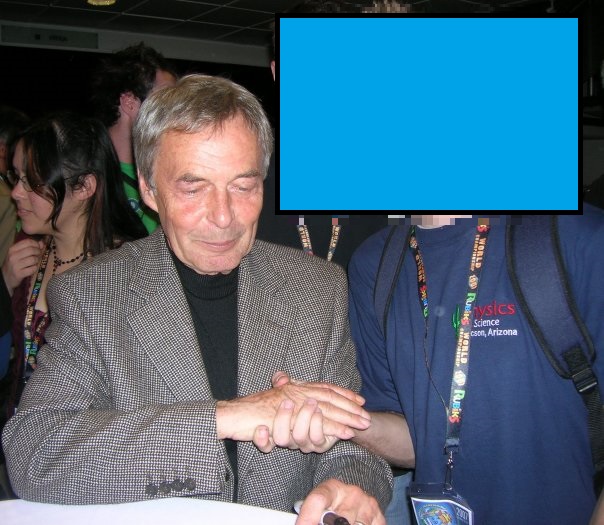 |
Me and Ernö Rubik in Budapest, Hungary, 2007 World Championships (25th anniversary of the original 1982 Rubik's Cube World Championships). This was the second world tournament Mr. Rubik attended, and announced this would be his last public appearance. Mr. Rubik is a Hungarian inventor, architect, professor of architecture, and best known for the invention of the Rubik's Cube (1974). The Rubik's Cube is one the top 10 most sold toys in the history of the world. Along with it, brought forth the study of its algorithms via Group Theory and computation. In 2010, Google used 35 CPU years worth of computation to prove that God's Number (the maximum minimum number of moves to solve any state of a 3x3x3 Rubik's Cube) is 20. |
Contents
Speedcubing: Objective
How fast could a human solve a \(3\)x\(3\)x\(3\) Rubik's Cube? If one were to solve a \(3\)x\(3\)x\(3\) Rubik's Cube by trial and error, how many possible combinations would there be? A \(3\)x\(3\)x\(3\) has \(12\) edges, and \(8\) corners. Each of \(12\) edges has \(2\) orientations (two ways it can be flipped). So we would get \(2^{12}\) possible orientations, however, one cannot orient the whole cube in a solved state except for a single edge flipped, due to orientation parity. Because the orientation of the last edge is determined by the orientations of the first 11, we have \(2^{11}\) possible corner orientations. Similarly, each of \(8\) corners has \(3\) orientations (three ways it can be rotated). So we would get \(3^{8}\) possible orientations, however, one cannot orient the whole cube in a solved state except for a single corner rotated, due to orientation parity. Because the orientation of the last corner is determined by the orientation of the first 7, we have \(3^7\) possible corner orientations. For the permutations, we get \(8!\) possible permutations for corners and \(12!\) possible permutations for edges, but there is a permutation parity: \(\frac{1}{2}\) of the permutational arrangements are allowed, as any cube state must have an even number of piece swaps, meaning it's impossible to have only two edges swapped in an otherwise solved cube. So we divide by two, and multiply all the combinations and permutations:\[ \text{Number of unique states for 3x3x3 cube:} \left(8!\right)\left(12!\right)\left(3^{7}\right)\left(2^{11}\right)\left(\frac{1}{2}\right) = 43,252,003,274,489,856,000 \]
Taking that number into perspective, at the rate of 1,000,000 arrangements per second, it would take well over a million years to run through them all. The actual complexity of this puzzle has brought forth mathematicians and computer scientists across the world to investigate the following question: what is the maximum number of moves to solve a Rubik's Cube from any given scrambled state? The answer to this question has been coined as “God's Number,” as one would suggest that God himself would use the minimum number of moves to solve it (using “God's Algorithm”). After \(\approx 30\) years of research on this problem, in 2010 an international team of researchers found that God's Number is equal to 20, requiring an equivalent of 35 years’ worth of computation time donated by Google. MIT researchers has shown that solving the Rubik's Cube is NP complete.
In 1982, the first Rubik's Cube World Championships took place in Budapest, Hungary, for humans competing to solve the \(3\)x\(3\)x\(3\) cube as fast as possible, resulting in a “speedcubing” community of competitors throughout the world. Different methods emerged: corners/edges (corners first, edges first), also layer-by-layer methods, and others. In speedcubing, the objective is to solve the Rubik's Cube in the fastest time possible, and to some degree, entailing minimizing the number of moves for a solve. Given how many possibilities there are for the Cube, there may be a threshold for how many algorithms a human can effectively use. For a set of algorithms known, \(\mathcal{S}\), average turn speed per move (efficiency), \(E=E\left(\mathcal{S}\right)\) (because some algorithms are faster to execute for human hands than others), and number of moves for a solve, \(N = N\left(\mathcal{S}\right)\),
\[ \begin{equation} \underset{\mathcal{S}}{\text{min }} t_\text{solve} = \left(\underset{\mathcal{S}}{\text{max }}E\left(\mathcal{S}\right) \right)\left(\underset{\mathcal{S}}{\text{min }}N\left(\mathcal{S}\right)\right)\label{eq:1} \end{equation} \]
Speedcubing then becomes an optimization problem of minimizing the number of moves (while also minimizing the execution) for a solve. The knowledge base of algorithms, \(\mathcal{S}\), to perform these optimizations, have been evolving over time, thanks to the community sharing newfound knowledge, in part due to computational tools available. My expert method has led me to compete internationally, and its set of algorithms \(\mathcal{S}\) can be found in the Expert Method section.
Results; Competition, Performance
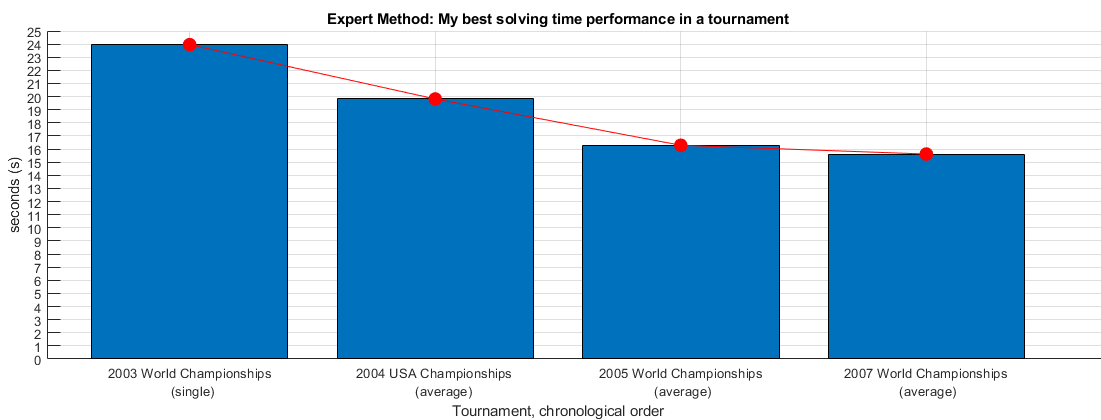
Once the internet began to flourish in 2000, an underground speedcubing community formed online, and speedcubing tournaments started to emerge throughout the world. Thanks to the internet, I became a part of the international speedcubing community during this time of 2000-2007. The second world championships was the 2003 Rubik's Games World Championship which took place on August 23-24, 2003, in Tornoto, Canada. I competed in the 2003 Rubik's Games World Championship with the following times:
1st round (single): 24.19 seconds (18th place)
Semi-final round (single): 23.96 seconds (23rd place)
Final round: Took the top 8 from semi-final round
The third Rubik's world championship took place November 5-6, 2005, in Orlando, Florida at the Disney Pop Century Resort, Disney World. I competed in the 2005 Rubik's World Championships with the following times:
1st round (single): 18.64 seconds (26th place)
Semi-final round (average): 16.29 seconds (5th place)
Final round (average): 18.71 seconds (12th place)
The fourth Rubik's world championship took place October 5-7, 2007, in Budapest, Hungary. This was the 25th anniversary of the first Rubik's world championship. I traveled to Budapest right after a Physics exam in college. I was sponsored by the Department of Physics at the University of Arizona. I ended up performing my best official solving average of 15.62 seconds and single time of 14.18 seconds. I decided to retire (at least for a while) from competing in Rubik's tournaments seriously. I competed in the 2007 Rubik's World Championships with the following times:
1st round (average): 16.15 seconds (27th place)
Semi-final round (average): 15.62 seconds (20th place)
Final round (average): Took the top 16 from the semi-final round
Per the objective \(\eqref{eq:1}\), below one can see I attempted to minimize \(t_{\text{solve}}\) over time, as my minimum was converging to something close to \(\approx 14-15\) seconds in an official setting.
My biggest highlights,
Fastest official average (single) in 2007 World Championships: 15.62 seconds (14.18 seconds). (2007)
“24 hour marathon” world record holder in February 2006; 3141.5 \(3\)x\(3\)x\(3\) solves, thanks to a team of friends scrambling for me at Caltech. The previous record was 2,000 solves by Jess Bonde from Denmark. I solved 2,000 at the 12 hour mark. I held the record until June 2006 when Zbigniew Zborowski broke my record. (2006)
At the 2005 Rubik's World Championships, I ranked fastest from USA in semi-final round, and top 12 in the final round; Orlando, Florida, Disneyworld. (2005)
Almost became USA Champion at the 2004 USA Rubik's Championships. (2004)
As for media coverage and public appearances,
Arizona, USA: Arizona Daily Star Newspaper: Interviewed twice for articles (2003 and 2005).
Tucson, AZ, USA; Tucson Citizen: Interviewed once for article (2004).
Tucson, AZ, USA; Arizona Wildcat: Interviewed twice by the University of Arizona's newspaper (2005 and 2007).
Tucson, AZ, USA; Channel 4 News: News coverage about me and the 2007 Rubik's World Championships results (2007).
Tucson, AZ, USA; Channel 13 News: Publicly seeking sponsors for the 2003 Rubik's “Games” World Championships (2003).
Phoenix, AZ, USA; International Conference on Thinking XI (2003).
Phoenix, AZ, USA; Diamondbacks baseball game (2003): 7th inning stretch, jumbotron screen
Phoenix, AZ, USA; Phoenix Suns vs Los Angeles Lakers Basketball Game: commercial on the Jumbo Screen (2004)
Tucson, AZ, USA; University High School Talent Show; received a standing ovation in 2004 and won the first money prize for solving the Rubik's Cube behind my back (blindfolded) (2004 and 2005)
Tucson, AZ, USA; University of Arizona “Physics Phun Night” (2007 and 2008)
Notation
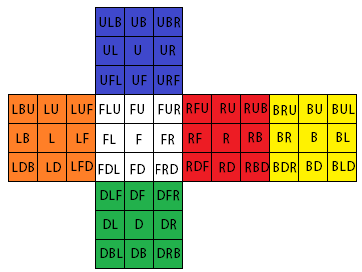
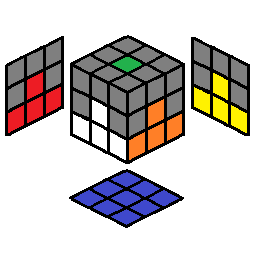
Below is a complete notation definition. Most of the notation listed here is widely used as an international “standard” for Rubik's Cube algorithm literature. The “( )” is used to separate an algorithm or sequence of moves into a block, to indicate a finger trick, or one single motion of a hand (or a “macro-move”). When an algorithm has repeating sections, ( )x\(n\) indicates that the sequence inside the parentheses should be repeated \(n\) times. Use of “ - ” in algorithms list a re-grip of the hands for execution.| Notation |
|---|
| Notation: Color Scheme |
| Notation: The Pieces |
| Notation: The Faces |
| Notation: Face Turns |
| Notation: Slice Turns |
| Notation: Rotations |
| Notation: Double Layer Turns |
| Notation: Facet Notation |
| Color Scheme |
 |
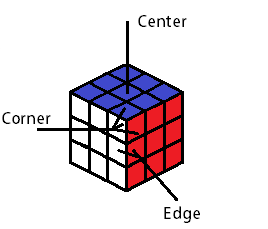
| The Pieces, and Miscellaneous Terminology |
 |
| The Faces |
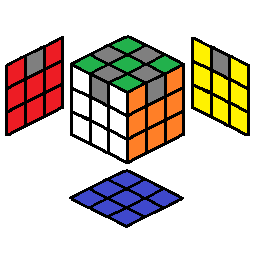
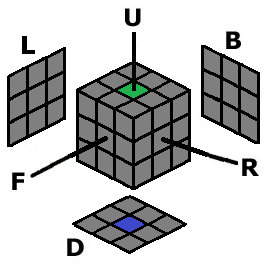
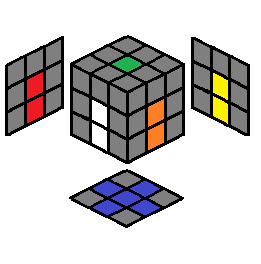
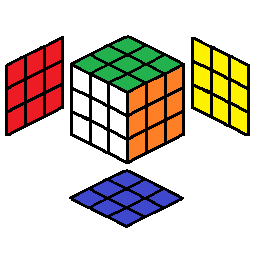
There are letters corresponding to each face of the Cube: R is for right face; L is for left face; U is for up (or top) face; D is for down (or bottom) face; F is for front face; B is for back face. The F face should be facing you, and the U face should be facing the ceiling, at all times when applying moves and algorithms. 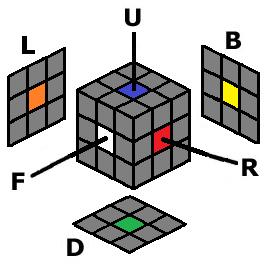 Note: the faces are determined by the center piece color. The reason for this is because center pieces never move, so it allows us to use consistent notation. For the defined color scheme, F face is white, B face is yellow, U face is blue, D face is green, R face is red, and L face is orange. For no rotations of the cube, this will remain consistent. |
| Face Turns | ||||||||
| For notational purposes, the letters themselves, when explaining a move, mean to move that face clockwise. An apostrophe (" ’ ") after the letter means to move that face counterclockwise, and a "2" after the letter means to move that face twice (this is a double turn). Note: for a double turn, the direction doesn't matter. Envision a clock at the center of each face to determine the clockwise or counterclockwise direction of each face. To simplify this, see the following: |
||||||||
| Face | Clockwise | Counter- Clockwise |
Double Turn (any direction) |
|||||
| Right | R | R’ | R2 or R2’ | |||||
| Left | L | L’ | L2 or L2’ | |||||
| Up (top) | U | U’ | U2 or U2’ | |||||
| Down (bottom) | D | D’ | D2 or D2’ | |||||
| Front | F | F’ | F2 or F2’ | |||||
| Back | B | B’ | B2 or B2’ | |||||
| Further Examples | ||||||||
| Let us consider the following as the hypothetical initial state of the Cube:
|
||||||||
| Move | Aftereffect | Move | Aftereffect | Move | Aftereffect | ||
| R | 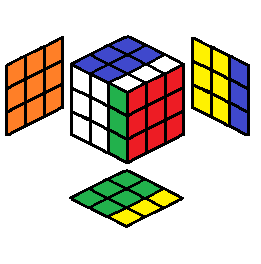 |
R’ |  |
R2 or R2’ |  |
||
| L | 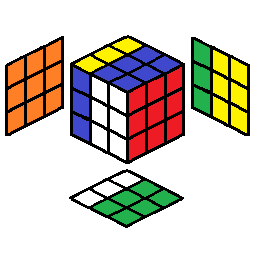 |
L’ | 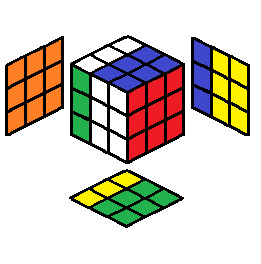 |
L2 or L2’ |  |
||
| U | 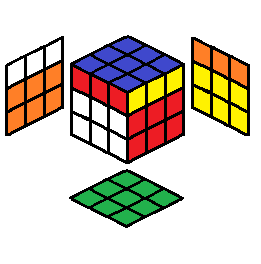 |
U’ |  |
U2 or U2’ | 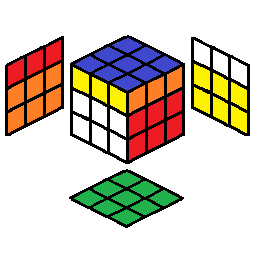 |
||
| D | 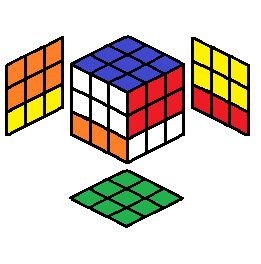 |
D’ | 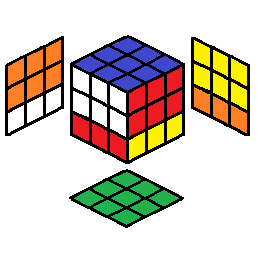 |
D2 or D2’ | 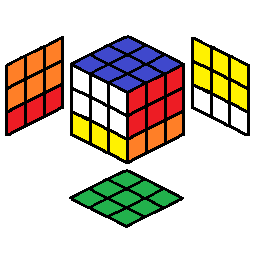 |
||
| F | 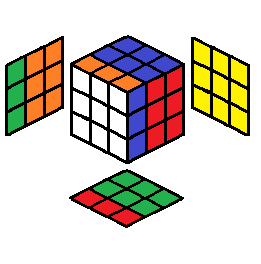 |
F’ |  |
F2 or F2’ | 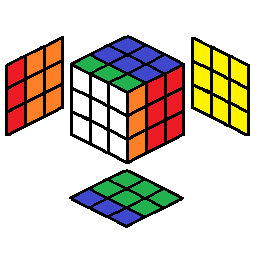 |
||
| B |  |
B’ |  |
B2 or B2’ |  |
| Slice Turns | |||||||
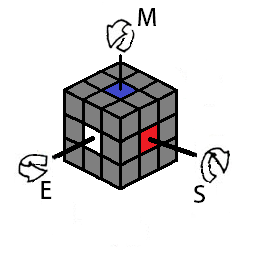
Sometimes it's useful to make slice turns. There are three general directions for slice moves: M (middle), E (equator), and S (side). The M, E, and S are subject to a " ’ " and a "2" at the end of the letter. Visually, the moves are as follows:
  |
|||||||
| Further Examples | |||||||
| Let us consider the following as the hypothetical initial state of the Cube:
|
| Move | Aftereffect | Move | Aftereffect | Move | Aftereffect | ||
| M | 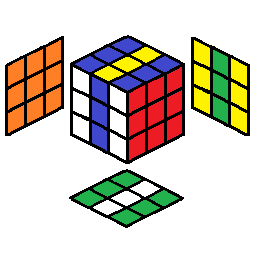 |
M’ | 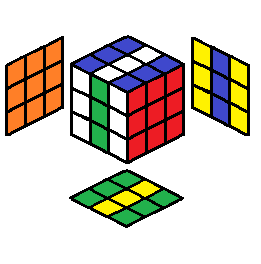 |
M2 or M2’ | 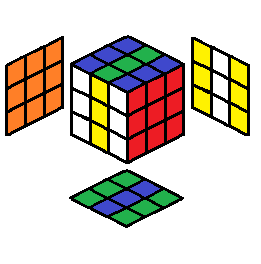 |
||
| E | 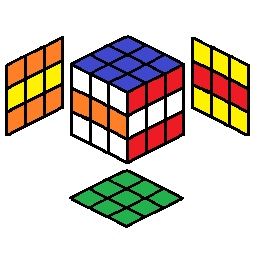 |
E’ | 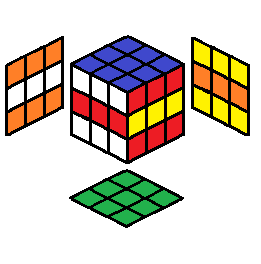 |
E2 or E2’ | 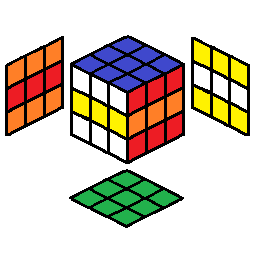 |
||
| S |  |
S’ | 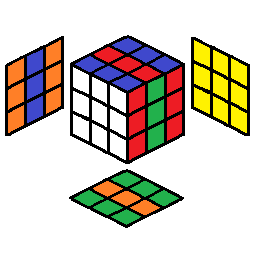 |
S2 or S2’ | 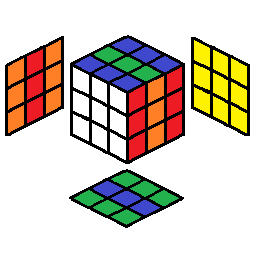 |
| Rotations | |||||||
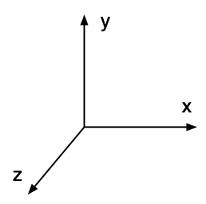
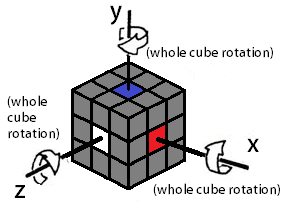
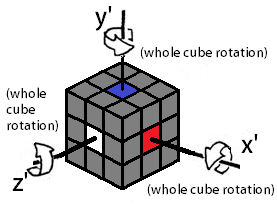
Sometimes it's useful to make a rotation. There are three general directions for rotations: about the x-axis, y-axis, and z-axis, referring to the 3 dimensional cartesian coordinate system.
   |
|||||||
| Rotation | Clockwise | Counter- clockwise |
Double Turn (any direction) |
||||
| About x-axis | x | x’ | x2 or x2’ | ||||
| About y-axis | y | y’ | y2 or y2’ | ||||
| About z-axis | z | z’ | z2 or z2’ | ||||
| Further Examples | |||||||
| Let us consider the following as the hypothetical initial state of the Cube:
| |||||||
| Move | Aftereffect | Move | Aftereffect | Move | Aftereffect | ||
| x | 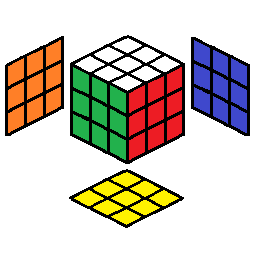 |
x’ | 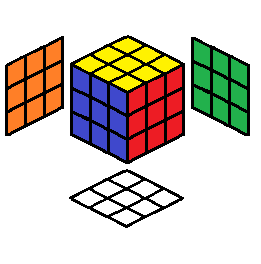 |
x2 or x2’ | 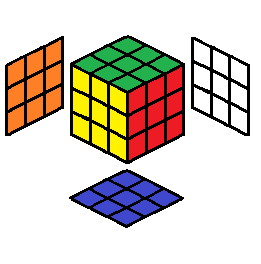 |
||
| y | 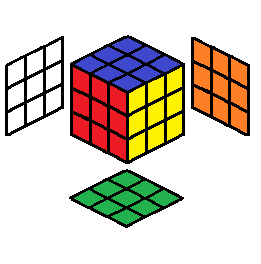 |
y’ | 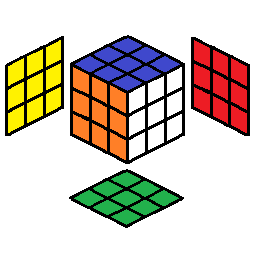 |
y2 or y2’ |  |
||
| z |  |
z’ |  |
z2 or z2’ |  |
| Double Layer Turns | ||||||||
| For double layer turns, use of the lowercase letter of a face (L,R,U,D,F,B). A double layer turn is similar to a face turn, but instead of moving a single layer, a double layer is turned. These are subject to " ’ " and "2" at the end of each letter. | ||||||||
| Two Layers | Clockwise | Counter- Clockwise |
Double Turn (any direction) |
|||||
| Right + Middle | r = (R M’) | r’ = (R’ M) | r2 = (R2 M2’) or r2’ = (R2’ M2) |
|||||
| Left + Middle | l = (L M) | l’ = (L’ M’) | l2 = (L2 M2) or l2’ = (L2’ M2’) |
|||||
| Up (top) + Equator | u = (U E’) | u’ = (U’ E) | u2 = (U2 E2’) or u2’ = (U2’ E2) |
|||||
| Down (bottom) + Equator | d = (D E) | d’ = (D’ E’) | d2 = (D2 E2) or d2’ = (D2’ E2’) |
|||||
| Front + Slice | f = (F S) | f’ = (F’ S’) | f2 = (F2 S2) or f2’ = (F2’ S2’) |
|||||
| Back + Slice | b = (B S’) | b’ = (B’ S) | b2 = (B2 S2’) or b2’ = (B2’ S2) |
|||||
| Further Examples | ||||||||
| Let us consider the following as the hypothetical initial state of the Cube:
|
||||||||
| Move | Aftereffect | Move | Aftereffect | Move | Aftereffect | ||
| r | 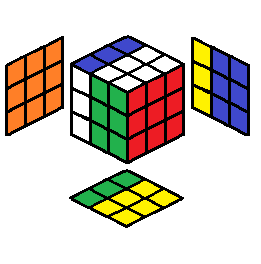 |
r’ |  |
r2 |  |
||
| l |  |
l’ | 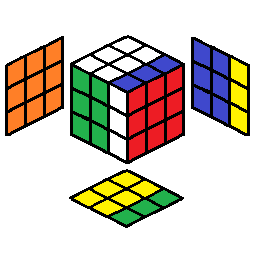 |
l2 | 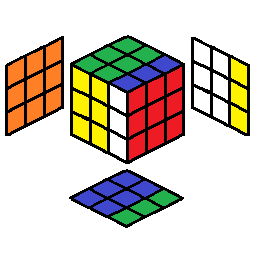 |
||
| u |  |
u’ | 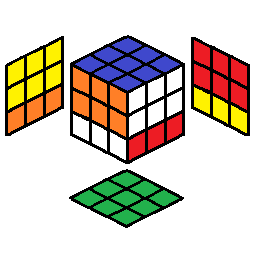 |
u2 | 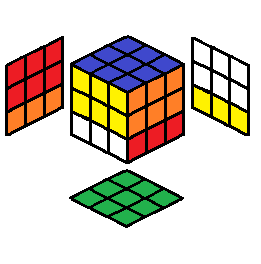 |
||
| d | 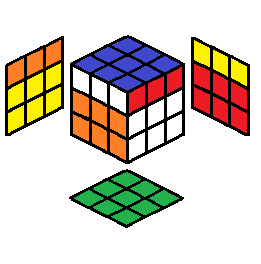 |
d’ | 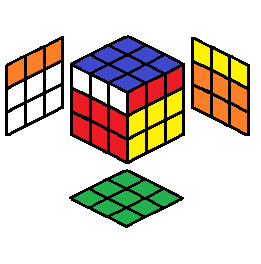 |
d2 | 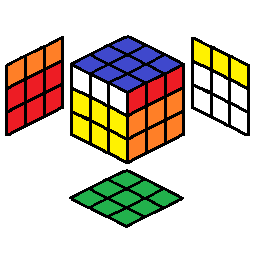 |
||
| f |  |
f’ |  |
f2 |  |
||
| b |  |
b’ |  |
b2 |  |
| Facet Notation |
There is a facet notation (developed by mathematician David Singmaster) that is sometimes used to distinguish all facet positions. If we keep the same color scheme,
 |
Beginner Method

| Beginner Method |
|---|
| Step 1: Cross |
| Step 2: First Layer |
| Step 3: Second Layer |
| Step 4: Last Layer Corners |
| Step 5: Last Layer Edges |
Step 1: Cross
| Goal | ||
 |
 |
|
The D center will always be there, so the center of the cross is always done. Four edges are to be placed correctly to form a cross. The desired destination for each cross edge will be denoted as the "empty slot," highlighted in a light gray color, to indicate where the cross color will end up after you perform an algorithm for that cross edge. The empty slot should always be on the bottom layer, facing you (so the empty slot for the cross color is in the DF position):
| Cases for the Cross on Bottom | ||||||
| Case | Case | Algorithm | Case | Case | Algorithm | |
| 1.1 |  |
F2 | 1.2 | 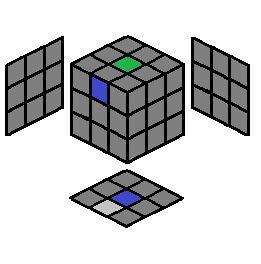 |
F D R’ | |
| 1.3 | 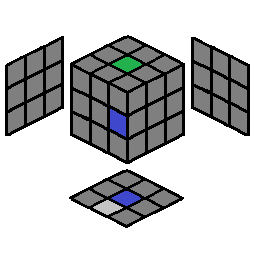 |
D R’ | 1.4 | 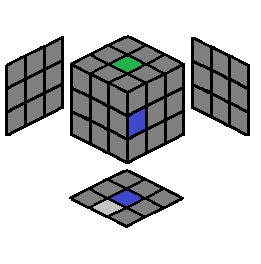 |
F | |
| 1.5 | 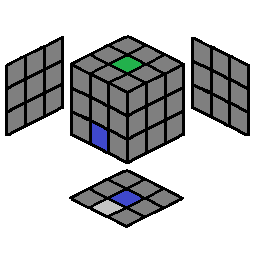 |
F’ D R’ | 1.6 |  |
Nothing, since this is what you want. Repeat setup/insertion for the next cross edge |
|
After repeating the above process for all four cross edges, you should have the following at this point:
| Cases for Matching the Cross Edges with Adjacent Centers | ||
| Case | Case | Algorithm |
| 1.7 | Swap two adjacent cross edges; this swaps the front bottom edge with the right bottom edge  |
R2 U F2 U’ R2 or R’ D R D’ R’ |
| 1.8 | Swap two opposite cross edges; this swaps the front bottom edge with the back bottom edge  |
M2 U2 M2 |
| 1.9 | Solved already |
Nothing, since this is what you want. |
From here onward, F face will be the white side, R will be orange, L will be red, B will be yellow (D will still be blue, and U will still be green).
Step 2: First Layer
| Goal | ||
|
 |
|
Now that we've finished the cross, with the cross edges also matching up with the adjacent center pieces, we can focus on the first layer corners to complete the first (bottom) layer. For inserting first layer corners, I will place the empty slot (which is the desired destination for the first layer corner you are trying to insert properly) on the front right bottom (FRD/RDF/DFR) corner location.
| Cases for the First Layer Corners | ||||||
| Case | Case | Algorithm | Case | Case | Algorithm | |
| 2.1 |  |
U’ F’ U F or R U R’ |
2.2 | 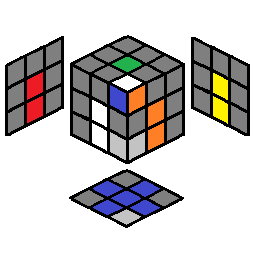 |
U R U’ R’ or F’ U’ F |
|
| 2.3 | 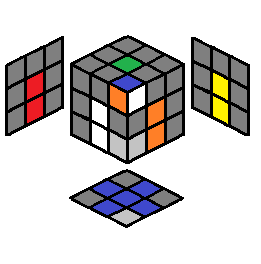 |
U R U2 R’ then case 2.2 |
2.4 |  |
R U’ R’ then case 2.2 |
|
| 2.5 | 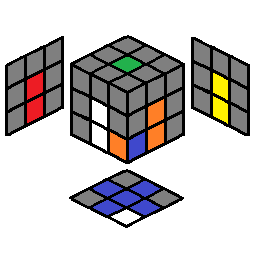 |
F’ U F then case 2.1 |
2.6 |  |
Nothing, since this is what you want. Repeat setup/insertion for the next first layer corner |
|
By now you should have step 2 completed, after inserting all four corners properly. If you have a corner placed in the wrong location (because that's where the corner was, or because you put it there accidentally), have it be in the front right bottom (FRD/RDF/DFR) corner location and perform R U’ R’ to move the improperly placed corner in the U layer, now enabling you to insert the corner to its proper location.
Step 3: Second Layer
| Goal | ||
|
 |
|
Now that we've finished the first layer, we can focus on the second layer edges to complete the second layer. For inserting second layer edges, I will indicate the the empty slot (which is the desired destination for the second layer edge you are trying to insert properly) by making it a light gray color, which will be either on the front right (FR/RF) or front left (FL/LF) edge location.
| Cases for the Second Layer Edges | ||||||
| Case | Case | Algorithm | Case | Case | Algorithm | |
| 3.1 |  |
U R U’ R’ U’ F’ U F | 3.2 |  |
y U’ L’ U L U F U’ F’ y’ | |
| 3.3 | 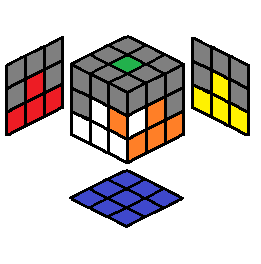 |
U R U’ R’ U’ F’ U F U2 then case 3.1 or (R U2 R’ U)x2 F’ U’ F |
3.4 |  |
Nothing, since this is what you want. Repeat setup/insertion for the next second layer edge |
|
Step 4: Last Layer Corners
| Goal | ||
|
 |
|
Now that we've finished the first two layers, we can focus on the third layer corners to partially complete the last layer. For this step, we will repeatedly a) set up our Cube to one of the following cases using U moves and/or y rotations, b) perform the algorithm, and then repeat a and b until the corners for the last layer are solved. In the setups below, the F face corresponds to the white center as usual.
| Cases for the Last Layer Corners | ||||||
| Case | Case | Algorithm | Case | Case | Algorithm | |
| 4.1 | 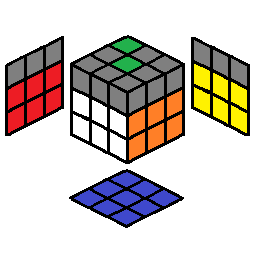 |
R’ U’ R U’ R’ U2 R U2, repeat setup (if necessary) |
4.2 |  |
Same as Algorithm 4.1, then repeat setup (if necessary) |
|
| 4.3 |  |
Same as Algorithm 4.1, repeat setup (if necessary) |
4.4 |  |
Nothing, since this is what you want. |
|
After orienting/flipping/twisting the corners correctly, we now have to permute/place the corners in such a way that eaach corner is in its solved state. Just because the corners are twisted properly doesn't necessarily mean they are in their proper place. There are three possibilities that may arise to complete the last layer corners:
| Cases for Permuting the Last Layer Corners While Preserving Corner Orientation |
||
| Case | Case | Algorithm |
| 4.5 | Swap a pair of corners: swapping the two top corners on the right side. Viewed from above:  Example where white/orange/green corner and yellow/orange/green corner need to be swapped. 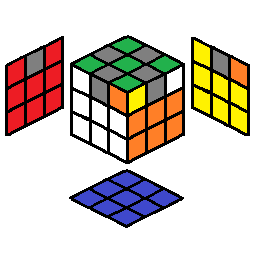 |
U L F’ L F2 R’ F R F2 L2 |
| 4.6 | Swap two pairs of corners: swapping the two top corners on the right side, and swapping the two top corners on the left side. Viewed from above:  Example where white/orange/green corner and yellow/orange/green corner need to be swapped, and the white/red/green and yellow/red/green corner need to be swapped: 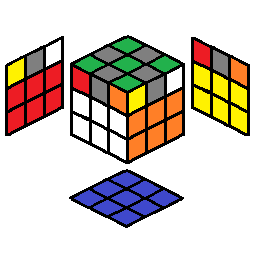 |
U2, Algorithm 4.5, U2 then case 4.5 or U R2 D’ L F’ L’ D R2 U B U B’ |
| 4.7 | Solved already |
Nothing, since this is what you want. |
Step 5: Last Layer Edges
| Goal | ||
|
 |
|
Now that we've finished the last layer corners, we can focus on the last layer edges to complete the Cube. We will need to focus on the actual positions of the edges first, before flipping them correctly. Make only y rotations to find an edge that is inserted in its correct place (note: we aren't allowed U moves anymore because the last layer corners are now in place, so we are in a way "locking" them into place). Once you find an edge that is in its correct place, then make that face your F face, regardless of whether or not that last layer edge on the F face is flipped correctly or not. If you cannot find an edge that is located in its proper place, then you can make any face your F face. Below is an algorithm which you will have to repeat until all edges are located in their proper place.
| Cases for Permuting the Last Layer Corners | ||
| Case | Case | Algorithm |
| 5.1 | An edge is in its proper place: make that face the F face when performing algorithm. Example with white/green edge:  or 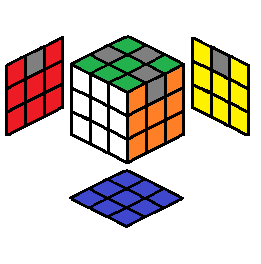 |
M’ U’ M U2 M’ U’ M then find another edge that is located properly, do y rotations to make it your new F face (until all edges are solved) |
| 5.2 | None of the last layer edges are placed properly: make any face the F face when performing algorithm. |
Algorithm 5.1 |
After placing the edges correctly, all that is left to do is flip the last layer edges. There are only three cases that may arise in this step. Match up the Cube to one of the following setups and perform the algorithm.
| Cases for Orienting/Flipping the Last Layer Edges | ||
| Case | Case | Algorithm |
| 5.3 | The "H" pattern. The only two edges needed to be flipped are the F and B edges on the top layer. Example with white/green and yellow/green edges: 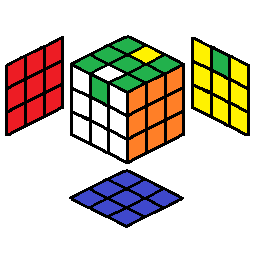 |
(M’ U’)x2 M’ U2 (M U’)x2 M U2 |
| 5.4 | The only two edges needed to be flipped are the F and R edges on the top layer. Example with white/green and orange/green edges: 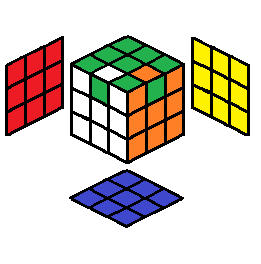 |
R B, Algorithm 5.3, B’ R’ |
| 5.5 | None of the edges need to be flipped. Example: |
Nothing, since this is what you want. |
You have now solved the Cube! To recap, we did five steps: the cross, the first layer, the second layer, the last layer corners, and the last layer edges. As a summary, the cross was formed on the bottom layer, and then the cross was fixed such that the cross edges also matched up with the adjacent center pieces on the L, R, F, B faces. The first layer corners were then inserted. Then the second/middle layer was done by placing four of the second/middle layer edges correctly. For the last layer corners, we oriented them first, then put them in their proper place (but in actuality it doesn't matter which is done first; if it's easier for you, you can place the corners in the proper place first, then orient them). For the last layer edges, we placed the edges in the correct place, then oriented/flipped them (but in actuality it doesn't matter which is done first; if it's easier for you, you can orient/flip the edges first and then proper place them). The number of algorithms you need to know for this is broken down in the following:
| Number of Algorithms for Beginner's Method | |||
| Step # | Step | # of Algorithms | Explanation |
| 1 | The cross | 0 | It is recommended that intuition for this should eventually suffice after practice. |
| 2 | The first layer | 0-1 | It can be argued that the minimum is one: cases 2.3, 2.4, and 2.5 can all be broken down into either 2.1 or 2.2. But 2.1 and 2.2 are reflections of each other, so really there are two versions of the same algorithm. But the algorithm is simple, so it can also be argued that intuition alone can eventually suffice. |
| 3 | The second layer | 0-1 | It can be argued that the minimum is one: case 3.1 and 3.2 are actually reflections of each other, and case 3.3 can be broken down into either case 3.1 or 3.2. But the algorithm is simple, so it can also be argued that intuition alone can eventually suffice. |
| 4 | The last layer corners | 2 | Minimum is two; one for orienting/flipping, one for permuting/placing. |
| 5 | The last layer edges | 2 | Minimum is two; one for orienting/flipping, one for permuting/placing. |
| Total | 4-6 | Not that many! Have fun. | |
Intermediate Method
This is a layer-by-layer solution. There are alternatives to this, but the layer-by-layer method is very popular.This intermediate method starts with a cross for the first layer; I recommend forming the cross on the bottom (D) face. I will start the cross with the blue color, so my setup so far is: D face is blue, U face is green. If your color scheme is different, the method still applies, just keep track of the color differences. Also, the faces for the figures on this webpage are defined as follows:
| Intermediate Method |
|---|
| Step 1: Cross |
| Step 2: First Layer |
| Step 3: Second Layer |
| Step 4: Last Layer Orientation |
| Step 5: Last Layer Permutation |
Step 1: Cross
| Goal | ||
 |
 |
|
The D center will always be there, so the center of the cross is always done. You will have to place four edges correctly to form a cross. The cross edges should also match up with the adjacent center pieces for the L, R, F, B faces. As an intermediate, this should be done in one step using intuition. From here onward my F face will be the white side, R will be orange, L will be red, B will be yellow (D will still be blue, and U will still be green).
Step 2: First Layer
| Goal | ||
|
 |
|
Now that we've finished the cross, with the cross edges also matching up with the adjacent center pieces, we can focus on the first layer corners to complete the first (bottom) layer. For inserting first layer corners, I will place the empty slot (which is the desired destination for the first layer corner you are trying to insert properly) on the front right bottom (FRD/RDF/DFR) corner location.
| Cases for the First Layer Corners | ||||||
| Case # | Case | Algorithm | Case # | Case | Algorithm | |
| 2.1 | 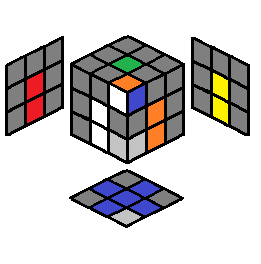 |
U’ F’ U F or R U R’ |
2.2 |  |
U R U’ R’ or F’ U’ F |
|
| 2.3 |  |
U R U2 R’ then case 2.2 |
2.4 | 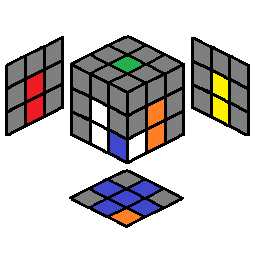 |
R U’ R’ then case 2.2 |
|
| 2.5 |  |
F’ U F then case 2.1 |
2.6 |  |
Nothing, since this is what you want. Repeat setup/insertion for the next first layer corner |
|
By now you should have step 2 completed, after inserting all four corners properly. If you have a corner placed in the wrong location (because that's where the corner was, or because you put it there accidentally), have it be in the front right bottom (FRD/RDF/DFR) corner location and perform R U’ R’ to move the improperly placed corner in the U layer, now enabling you to insert the corner to its proper location.
Step 3: Second Layer
| Goal | ||
|
 |
|
Now that we've finished the first layer, we can focus on the second layer edges to complete the second layer. For inserting second layer edges, I will indicate the the empty slot (which is the desired destination for the second layer edge you are trying to insert properly) by making it a light gray color, which will be either on the front right (FR/RF) or front left (FL/LF) edge location.
| Cases for the Second Layer Edges | ||||||
| Case # | Case | Algorithm | Case # | Case | Algorithm | |
| 3.1 |  |
U R U’ R’ U’ F’ U F | 3.2 |  |
y U’ L’ U L U F U’ F’ y’ | |
| 3.3 |  |
U R U’ R’ U’ F’ U F U2 then case 3.1 or (R U2 R’ U)x2 F’ U’ F |
3.4 | 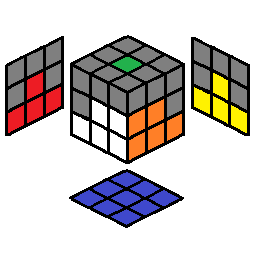 |
Nothing, since this is what you want. Repeat setup/insertion for the next second layer edge |
|
Step 4: Last Layer Oriention
| Goal | ||
|
 |
|
Now that we've finished the first two layers, we can focus on the third layer corners to partially complete the last layer. Firstly, we will orient the edges with cases 4.1, 4.2, and 4.3; if the edges are oriented, the cases 4.4 - 4.10 orient the corners, preserving edge orientation. This is a good introduction to "OLL" (Orientation of Last Layer) in Jessica Fridrich's complete layer-by-layer method. The last layer will now be seen from above.
| Cases for Last Layer Orientation | ||||||
| Case # | Case | Algorithm | Case # | Case | Algorithm | |
| 4.1 |  |
F U R U’ R’ then cases 4.2 - 4.3 |
4.2 |  |
Algorithm 4.1 then cases 4.4 - 4.10 |
|
| 4.3 |  |
F R U R’ U’ F’ then cases 4.4 - 4.10 |
4.4 |  |
R U R’ U R U’ R’ U R U2 R’ | |
| 4.5 |  |
R U2 R2 U’ R2 U’ R2 U2 R | 4.6 |  |
R’ F’ L F R F’ L’ F | |
| 4.7 |  |
L2 D’ L U2 L’ D L U2 L | 4.8 |  |
R’ F’ L’ F R F’ L F | |
| 4.9 |  |
R’ U2 R U R’ U R | 4.10 |  |
L U2 L’ U’ L U’ L’ (reflection of 4.9) |
|
After orienting the last layer, we now have to permute/place the last layer.
Step 5: Permuting Last Layer
| Goal | ||
|
 |
|
Now that we've finished the last layer orientation, we can focus on the last layer permutation to complete the Cube. We will permute the corners first, then permute the edges. This is a nice introduction to "PLL" (Permutation of Last Layer) in Jessica Fridrich's complete layer-by-layer method. Make U turns or y rotations to find the following cases.
| Cases for Last Layer Corner Permutation Only, Ignoring Edge Permutation |
||||||
| Case # | Case | Algorithm | Case # | Case | Algorithm | |
| 5.1 |  |
R2 B2 R F R’ B2 R F’ R (reflection of 5.2) |
5.2 |  |
R’ F R’ B2 R F’ R’ B2 R2 (reflection of 5.1) |
|
| 5.3 |  |
Algorithm 5.1, U’ y’ then case 5.2 or F R U’ R’ U’ R U R’ F’ R U R’ U’ R’ F R F’ |
5.4 |  |
U’ y2 then case 5.2 |
|
| 5.5 | Corners are already permuted:  |
Nothing, since this is what you want. |
||||
| Cases for Last Layer Edge Permutation While Preserving Corner Permutation |
||||||
| Case # | Case | Algorithm | Case # | Case | Algorithm | |
| 5.5 |  |
R2 U’ F B’ R2 F’ B U’ R2 or R2 U’ y R’ L F2 L’ R y’ U’ R2 (reflection of 5.6) |
5.6 |  |
R2 U F B’ R2 F’ B U R2 or R2 U y R’ L F2 L’ R y’ U R2 (reflection of 5.5) |
|
| 5.7 |  |
Algorithm 5.5, y’ then case 5.5 or U’ L U L’ U L’ U’ L’ U L U’ L’ U’ L2 U L U’ |
5.8 |  |
M2 U’ M2 U2 M2 U’ M2 | |
| 5.9 | Edges are permuted |
Nothing, since this is what you want. |
||||
You have now solved the Cube! To recap, we did five steps: the cross, the first layer, the second layer, the last layer orientation, and then last layer permutation. For the last layer orientation, we oriented the last layer edges first (if they weren't already), then the corners were oriented. For the last layer permutation, we permuted the corners first, then the edges. The number of algorithms you need to know for this is broken down in the following:
| Number of Algorithms for Beginner's Method | |||
| Step # | Step | # of Algorithms | Explanation |
| 1 | The cross | 0 | It is recommended that intuition for this should eventually suffice after practice. |
| 2 | The first layer | 0 | As an intermediate, the first layer should be intuition. |
| 3 | The second layer | 0-1 | It can be argued that the minimum is one: case 3.1 and 3.2 are actually reflections of each other, and case 3.3 can be broken down into either case 3.1 or 3.2. But the algorithm is simple, so it can also be argued that intuition alone can eventually suffice. |
| 4 | The last layer orientation | 9 | Minimum is nine; two for cases 4.1 - 4.3, and seven for cases 4.4 - 4.10. |
| 5 | The last layer permutation | 2-8 | Minimum is two; one for permuting corners using only 5.1, one for permuting edges using 5.5. |
| Total | 11-18 | Have fun. | |
Things to improve beyond this intermediate method: think about finishing the first two layers in one step, so you will be placing corners and edges simultaneously for the first two layers (this is termed "f2l/F2L" in Jessica Fridrich's complete layer-by-layer method). Also, in my "Expert Method," there is a complete list of algorithms to orient the last layer in one single step, and there is also a complete list of algorithms to permute the last layer in one single step.
Expert Method
My "Expert Method" is a layer-by-layer solution, one that I've used in all my competitions, and has allowed me to achieve sub-13 second averages back in 2005-2007. I recommend you are familiar with the following notation and terminology presented on my notation page: the Cube pieces, face turns, slice turns, and rotations. I recommend printing out my notation page as you work through this solution, so you can refer to it easily.This expert method starts with a cross for the first layer; I recommend forming the cross on the bottom (D) face. I will start the cross with the blue color, so my setup so far is: D face is blue, U face is green. If your color scheme is different, the method still applies, just keep track of the color differences. Also, the faces for the figures on this webpage are defined as follows:

| Expert Method |
|---|
| Step 1: Cross |
| Step 2: First Two Layers (F2L) |
| Step 3: Last Layer Orientation |
| Step 4: Last Layer Permutation |
The D center will always be there, so the center of the cross is always done. You will have to place four edges correctly to form a cross. The cross edges should also match up with the adjacent center pieces for the L, R, F, B faces. As an expert, this should be done in one step using intuition, using no more than 9 moves (it has been proven/shown that 9 moves is the max for this step, and 99.5% of the time 8 the maximum number of moves). From here onward my F face will be the white side, R will be orange, L will be red, B will be yellow (D will still be blue, and U will still be green).
Step 2: First Two Layers
| Goal | ||
 |
 |
|
Now that we've finished the cross, with the cross edges also matching up with the adjacent center pieces, we can focus on the first two layers. We will form the first two layers by combining the first layer corners with the second layer edges, by forming corner/edge (C/E) pairs. For inserting C/E pairs, I will place the empty slot (which is the desired destination for the C/E pair) on the front right (FR/RF) location.
| Cases for the First Two Layers Corner/Edge Pair | ||||||
| Case # | Case | Algorithm | Case # | Case | Algorithm | |
| 2.1 |  |
U F’ U’ F U2 F’ U F’ | 2.2 |  |
U’ R U R’ U2 R U’ R’ | |
| 2.3 | 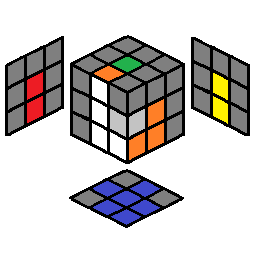 |
U R U’ R’ U’ F’ U F or y’ (L’ U’)x3 (L U)x3 or D U’ F’ U F D’ (if not worrid about preserving FL/LF C/E pair) |
2.4 | 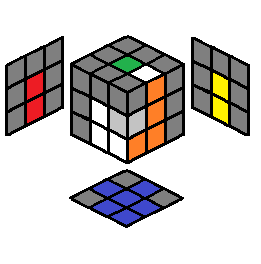 |
y U’ L’ U L U F U’ F’ or (R U)x3 (R’ U’)x3 or D U R U’ R D’ (if not worried about preserving FL/LF C/E pair) |
|
| 2.5 |  |
U (R U’ R’ U)x2 R U’ R’ or (R’ F R F’)x3 |
2.6 | 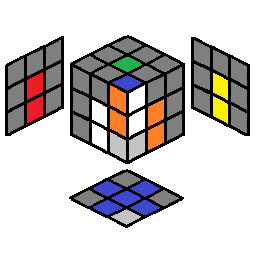 |
R U’ R’ U F’ U F or F’ R U’ R’ U R’ F R (if not worried about preserving FL/LF C/E pair) |
|
| 2.7 | 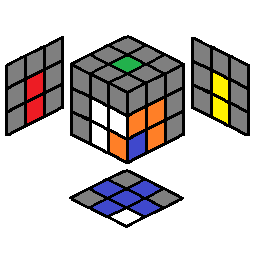 |
R U R’ U’ then case 2.26 |
2.8 | 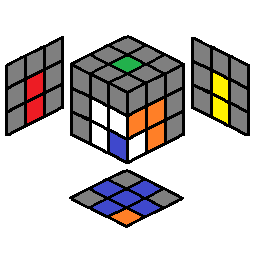 |
R U R’ U’ then case 2.30 |
|
| 2.9 |  |
R U R’ U’ then case 2.24 or R U’ R’ F’ L’ U2 L F |
2.10 |  |
y L’ U’ L U then case 2.23 or y L’ U L F R U2 R’ F’ |
|
| 2.11 |  |
y L’ U L U’ L’ U L or y L U L2 F’ L’ F |
2.12 | 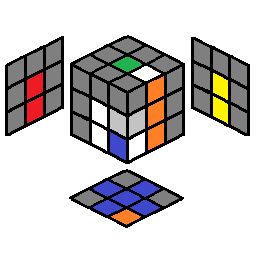 |
R U’ R’ U R U’ R’ or R U’ R2 F R F’ |
|
| 2.13 | 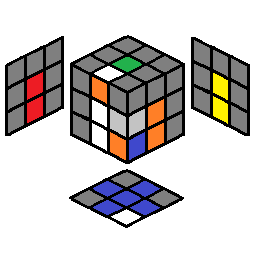 |
(U’ R U R’)x2 | 2.14 | 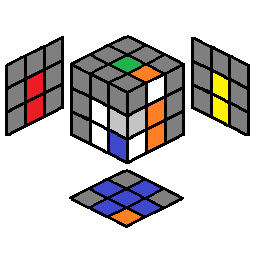 |
y (U L’ U’ L)x2 | |
| 2.15 | 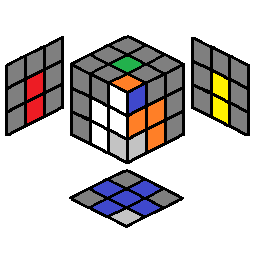 |
y U (L’ U L) U2’ (L’ U L) | 2.16 | 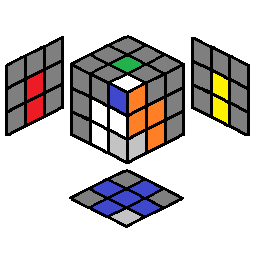 |
U’ (R U’ R’) U2’ (R U’ R’) | |
| 2.17 |  |
U y (L’ U’ L) U’ y’ (R U R’) | 2.18 |  |
U’ (R U R’) U F’ U F | |
| 2.19 |  |
U’ F’ U F | 2.20 |  |
U R U’ R’ | |
| 2.21 | 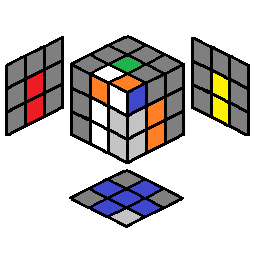 |
U R U’ R’ then case 2.13 or R U2 R2 U R’ (if not worried about preserving BR/RB C/E pair) |
2.22 |  |
y U’ L’ U L then case 2.14 or y L U2 L2 U’ L (if not worried about preserving BL/LB C/E pair) |
|
| 2.23 |  |
F’ U F U2 R U R’ | 2.24 | 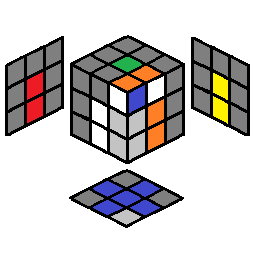 |
R U’ R’ U2 F’ U’ F | |
| 2.25 | 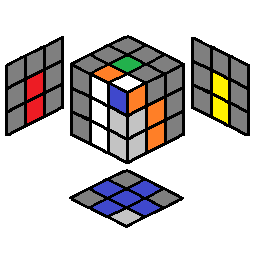 |
y U L’ U L U’ L’ U’ L | 2.26 |  |
U’ R U’ R’ U R U R’ | |
| 2.27 | 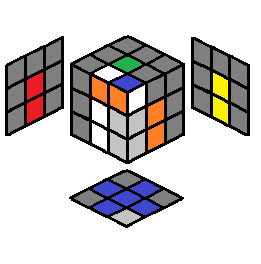 |
U R U’ R’ U’ then caes 2.12 |
2.28 | 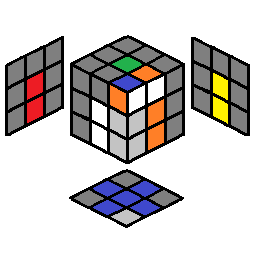 |
y U’ L’ U L U then case 2.11 |
|
| 2.29 |  |
y L’ U2 L U L’ U L | 2.30 |  |
R U2 R’ U’ R U’ R’ | |
| 2.31 | 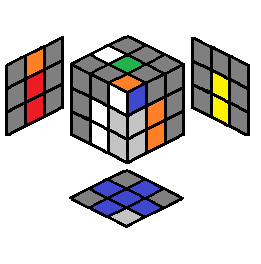 |
U2 R U’ R’ U’ R U R’ | 2.32 | 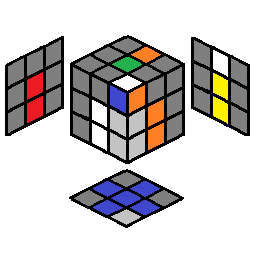 |
y U2 L’ U L U L’ U’ L | |
| 2.33 | 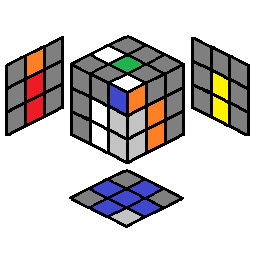 |
U’ R U2 R’ U2 R U’ R’ | 2.34 | 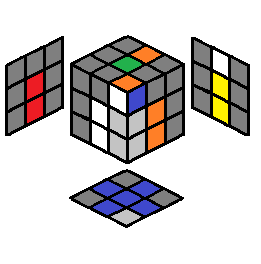 |
y U L’ U2 L U2 L’ U L’ | |
| 2.35 | 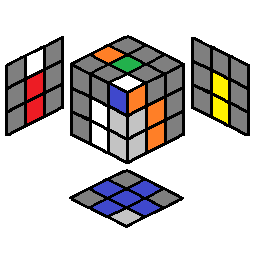 |
F’ U’ F | 2.36 |  |
R U R’ | |
| 2.37 | 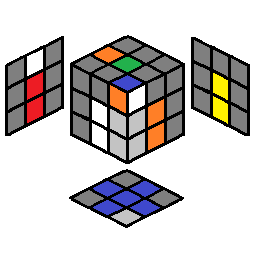 |
U’ y L’ U2 L U’ L’ U L | 2.38 | 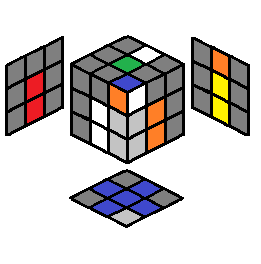 |
U R U2 R’ U R U’ R’ | |
| 2.39 | 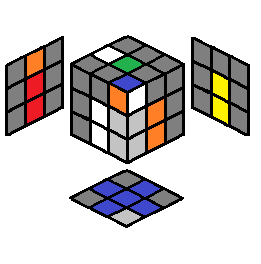 |
R U’ R’ U2’ R U R’ | 2.40 | 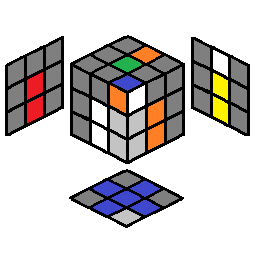 |
y U2 L’ U’ L U’ L’ U L | |
| 2.41 | 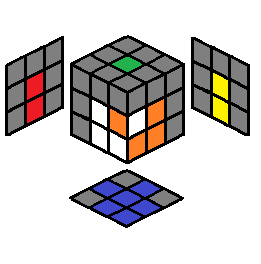 |
(R U2 R’ U)x2 F’ U’ F | 2.42 | 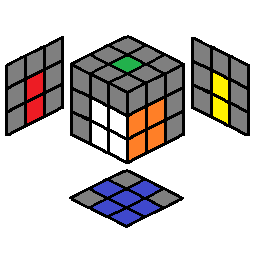 |
Nothing, since this is what you want. Repeat setup/insertion for the next corner/edge pair (if necessary). |
|
Step 3: Last Layer Orientation
| Goal | ||
 |
 |
|
| Cases for Last Layer Orientation | ||||||||
| Case # | Probability | Case | Algorithm | Case # | Probability | Case | Algorithm | |
| 3.1 | 1/108 |  |
R U2 R2 F R F’ U2 R’ F R F’ | 3.2 | 1/54 |  |
F R’ F’ R U R2 B’ R’ B U’ R’ | |
| 3.3 | 1/27 |  |
R L2 B’ L B’ R’ U2 R B’ L R’ | 3.4 | 1/54 |  |
L’ U’ L U’ L F’ L’ F U2 L F’ L’ F | |
| 3.5 | 1/54 |  |
L F R U2 R’ U2 R U2 R’ F’ L’ | 3.6 | 1/54 |  |
R’ U2 F R U R’ U’ F2 U2 F R | |
| 3.7 | 1/216 |  |
(M U’)x4 (M’ U’)x4 | 3.8 | 1/108 |  |
R U2 R2 U’ R U’ R’ U2 y’ R B R’ | |
| 3.9 | 1/108 |  |
R B R’ U L U’ L’ U L U’ L’ R B’ R’ | 3.10 | 1/54 |  |
R U’ y L’ U L U’ L’ U L F | |
| 3.11 | 1/54 |  |
R’ U’ R U’ R’ U y L’ U L U’ L’ U L F | 3.12 | 1/27 |  |
R B L’ B L B’ L’ B L B2 R’ | |
| 3.13 | 1/27 |  |
R y’ R’ U2 R U2 R B2 R’ B | 3.14 | 1/27 |  |
F (R U R’ U’)x2 F’ | |
| 3.15 | 1/27 |  |
R B L’ B L B2 R’ | 3.16 | 1/27 |  |
L2 R B’ L B’ L’ B2 L B’ L R’ | |
| 3.17 | 1/27 |  |
L’ U L y’ L F’ L’ U L F L’ | 3.18 | 1/27 |  |
L B2 R B R’ B L | |
| 3.19 | 1/27 |  |
L F’ L’ U’ L F L’ y L’ U L | 3.20 | 1/27 |  |
R B R’ L U L’ U’ R B’ R’ | |
| 3.21 | 1/27 |  |
R U’ R’ U2 R U y R U’ R’ U’ F’ | 3.22 | 1/27 |  |
B L B’ R B L2 B L B2 R’ | |
| 3.23 | 1/27 |  |
R U B’ U’ R’ U R B R’ | 3.24 | 1/54 |  |
F R U’ R’ U’ R U R’ F’ | |
| 3.25 | 1/27 |  |
L d R U’ R’ F’ | 3.26 | 1/54 |  |
R U2 R2 F R F’ R U2 R’ | |
| 3.27 | 1/54 |  |
F R U R’ U’ F’ | 3.28 | 1/54 |  |
R U R’ U’ R’ F R F’ | |
| 3.29 | 1/27 |  |
L F’ L’ U’ L U F U’ L’ | 3.30 | 1/54 |  |
L U L’ U’ y L’ B’ R B R’ L | |
| 3.31 | 1/54 |  |
R U R B’ R’ B U’ R’ | 3.32 | 1/27 |  |
L U L’ U L U’ L’ U’ L’ B L B’ | |
| 3.33 | 1/108 |  |
L U2 L’ U’ L U L’ U’ L U’ L’ | 3.34 | 1/54 |  |
R U2 R2 U’ R2 U’ R2 U2 R | |
| 3.35 | 1/54 |  |
L2 D’ L U2 L’ D L U2 L | 3.36 | 1/54 |  |
R’ F’ L F R F’ L’ F | |
| 3.37 | 1/54 |  |
R F’ L’ F R F’ L F | 3.38 | 1/27 |  |
L U2 L’ U’ (L U’ L’) | |
| 3.39 | 1/54 |  |
L’ B’ (3.40) B L | 3.40 | 1/108 |  |
(M U’)x2 M U2 (M’ U’)x2 M’ U2 | |
| 3.41 | 1/216 |  |
Nothing; desired state | |||||
Step 4: Last Layer Permutation
| Goal | ||
|
 |
|
| Cases for Last Layer Permutation | ||||||||
| Case # | Probability | Case | Algorithm | Case # | Probability | Case | Algorithm | |
| 4.1 | 1/9 |  |
(L2 U) (L U L’) (U’ L’) (U’ L’ U L’) | 4.2 | 1/9 |  |
L2 B2 (L’ F’ L) B2 (L’ F L’) | |
| 4.3 | 1/36 |  |
U’ (L U L’ U) (L’ U’) L’ U (L U’ L’ U’) L2 U L U’ | 4.4 | 1/72 |  |
M2 U’ M2 U2 M2 U’ M2 | |
| 4.5 | 1/36 |  |
F R’ F’ L F R F’ L2 B’ R B L B’ R’ B | 4.6 | 1/18 |  |
R U R’ U’ R’ F R2 U’ R’ U’ R U R’ F’ | |
| 4.7 | 1/18 |  |
R’ U R’ U’ y z U’ R U’ R’ U2 y’ R’ U’ R U R | 4.8 | 1/18 |  |
R’ U R U’ R2 y’ R’ U’ R U y x R U R’ U’ R2 B’ | |
| 4.9 | 1/9 |  |
R’ U2 R U2 R’ F R U R’ U’ R’ F’ R2 U’ | 4.10 | 1/9 |  |
B2 L U L’ B2 l x’ U’ R U R2 | |
| 4.11 | 1/18 |  |
F R U’ R’ U’ R U R’ F’ R U R’ U’ R’ F R F’ | 4.12 | 2/9 |  |
(L U L’) B2 D’ R U’ R’ U R’ u R2 | |
| 4.13 | 1/36 |  |
(L U’ R U2 L’ U R’)x2 U | 4.14 | 1/72 |  |
Nothing; desired state | |
The number of algorithms you need to know for this is broken down in the following:
| Number of Algorithms for Expert Method | |||
| Step # | Step | # of Algorithms | Explanation |
| 1 | The cross | 0 | It is recommended that intuition for this should eventually suffice after practice. The maximum number of moves required is always 8, average is 6-7. |
| 2 | The first 2 layers | \(\approx 42\) | Average number of moves is \(\approx 28\) |
| 3 | Last Layer Orientation | \(\approx 40\) | Average number of moves is \(\approx 9\) |
| 4 | Last Layer Permutation | \(\approx 13\) | Average number of moves is \(\approx 12\) |
| Total | \(\approx 95\) | Average number of moves is \(\approx 56\) | |